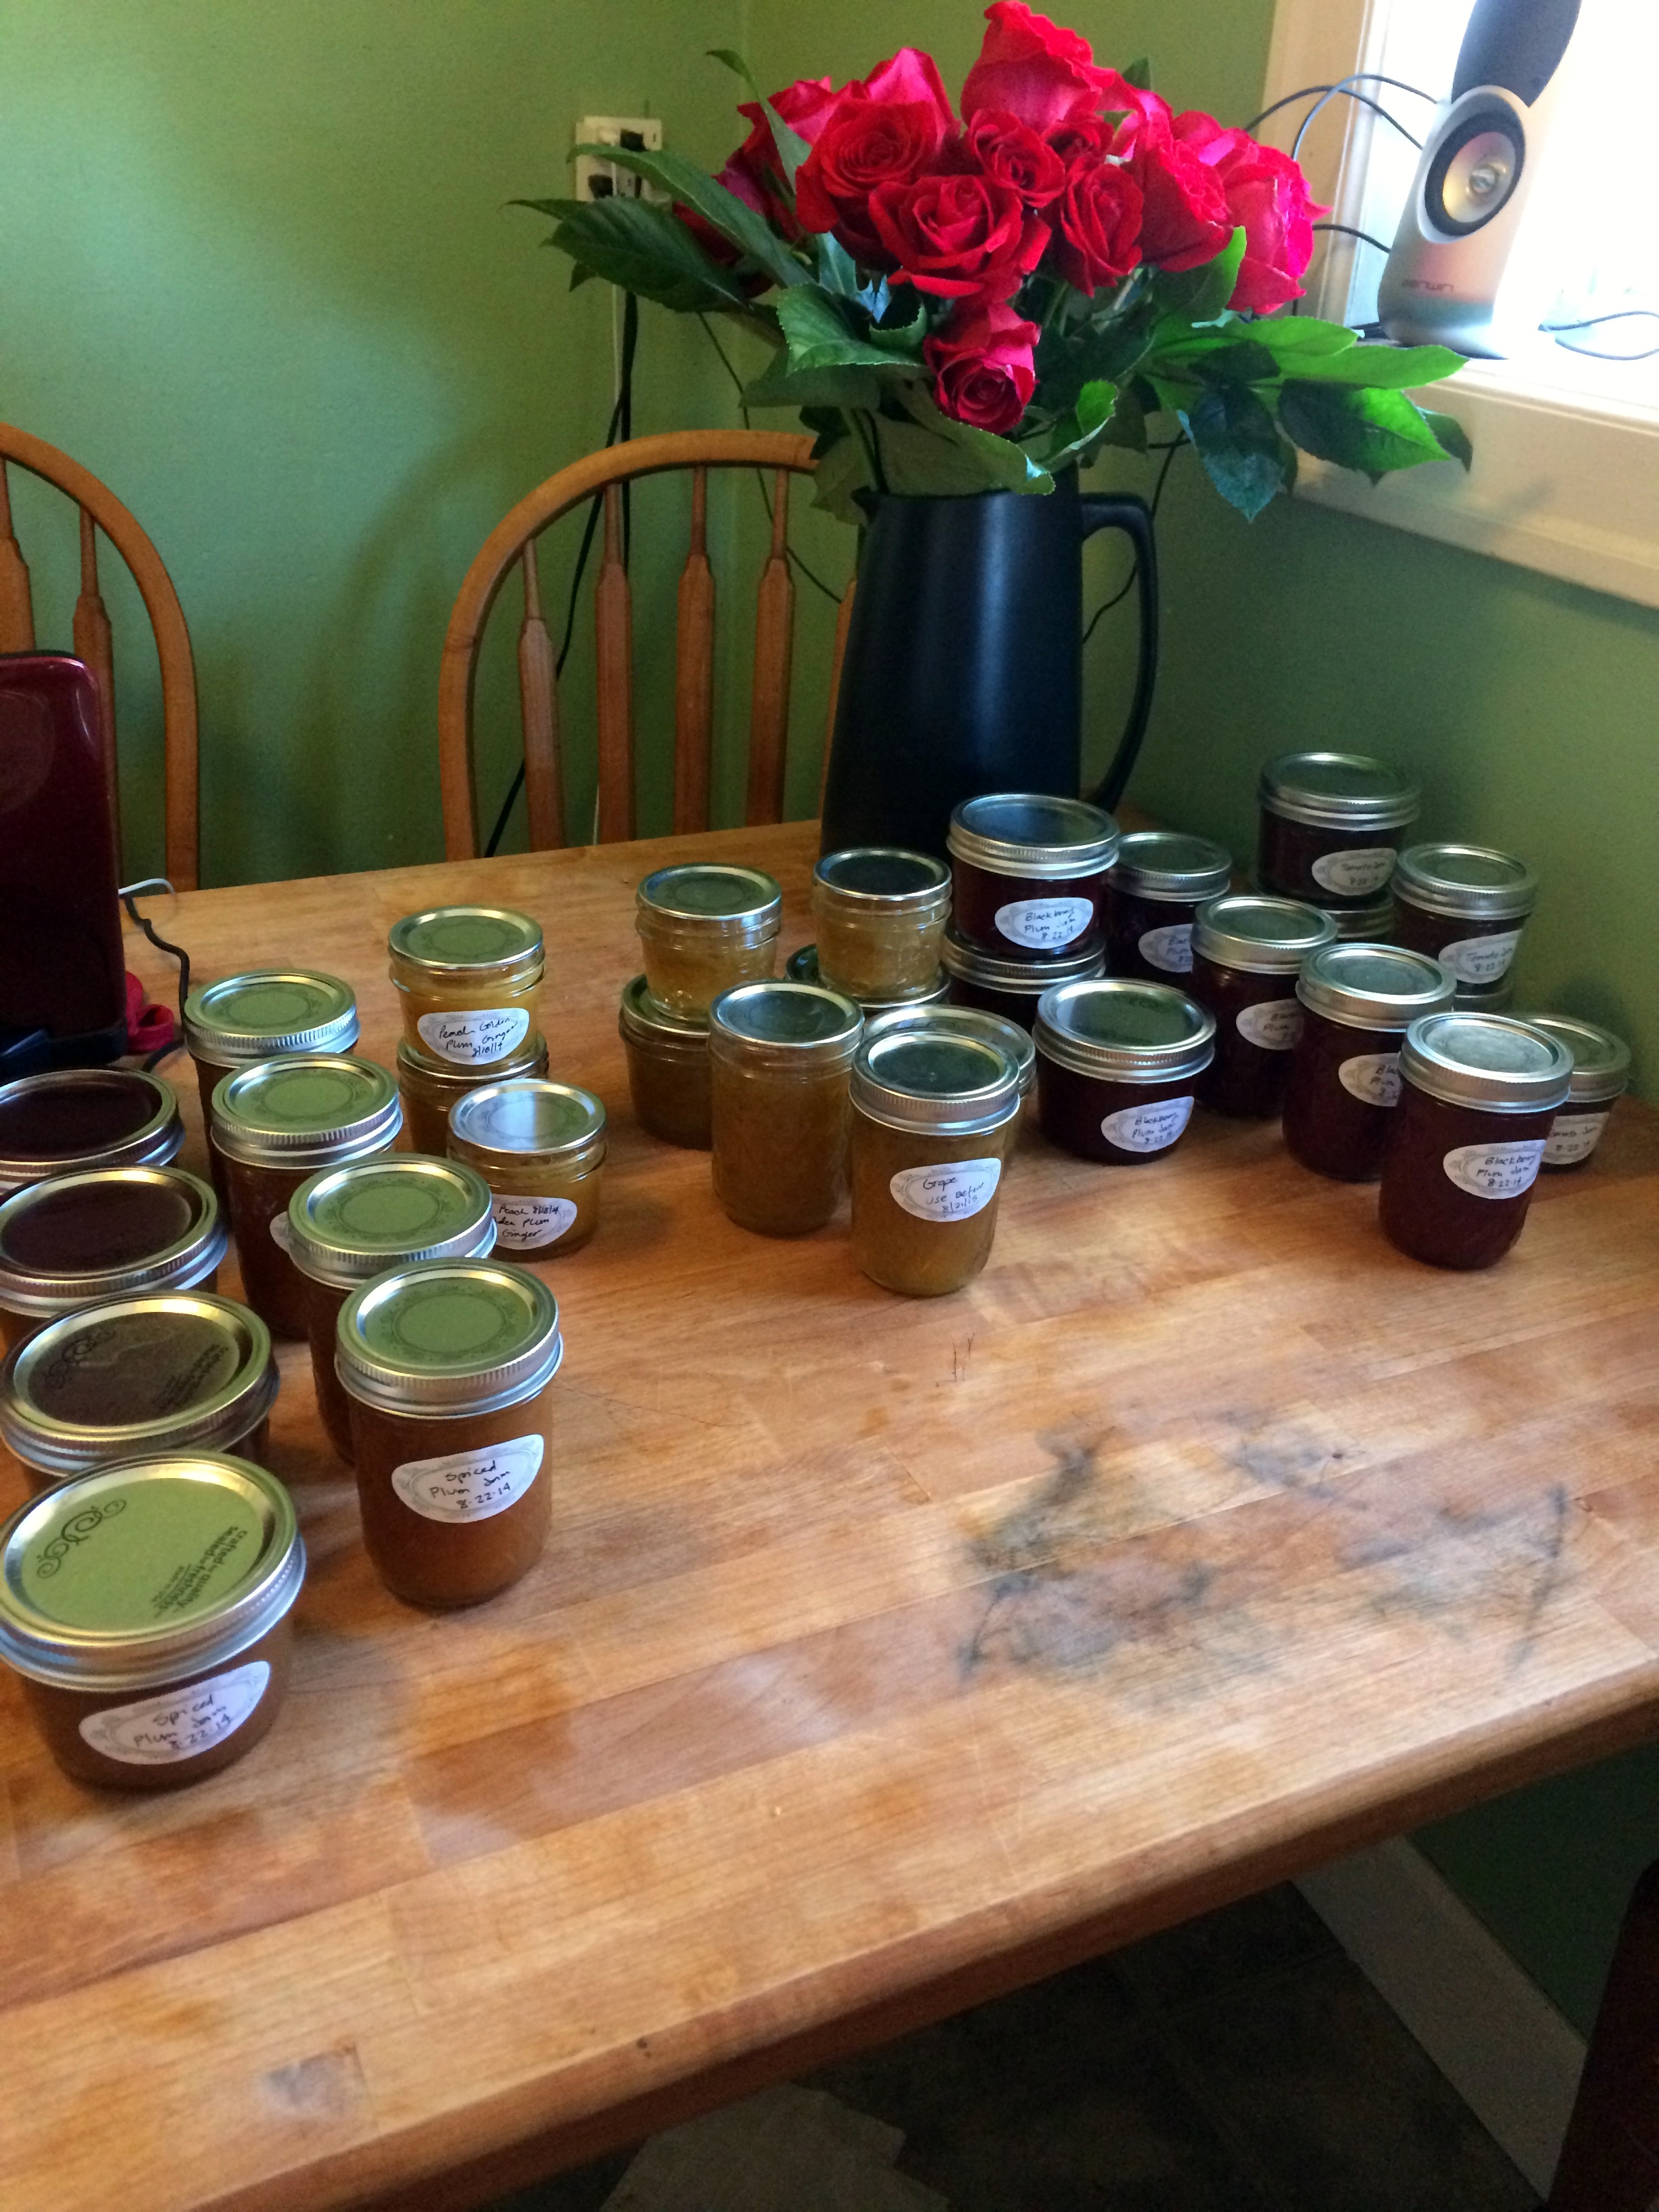
Picture of table before (didn’t take one so found one from when I made jam)
Our kitchen table was a hand me down from my parents, like a lot of things in our house which are hand me downs, bought on Craigslist or DIY. It was basically a natural stain with no real finish on it, so after years of having the girls eat at the table and me rub it down it was looking pretty tired. With the end of summer and our gorgeous weather I realized I had better get on the project of refinishing it or I’d have to wait another year.
Mike carried the table and chairs out side and we started to sand, and sand and sand….. it took a lot of sanding. The one thing about this I would change was that I was using a larger grit (100) sand paper at first for the chairs and it left some rough marks which I later got a higher grit (220) and smoothed it over but just added an extra step, luckily for the table top we used a sander so that went pretty fast. Our plan was to stain the top of the table and paint the legs and chairs black.
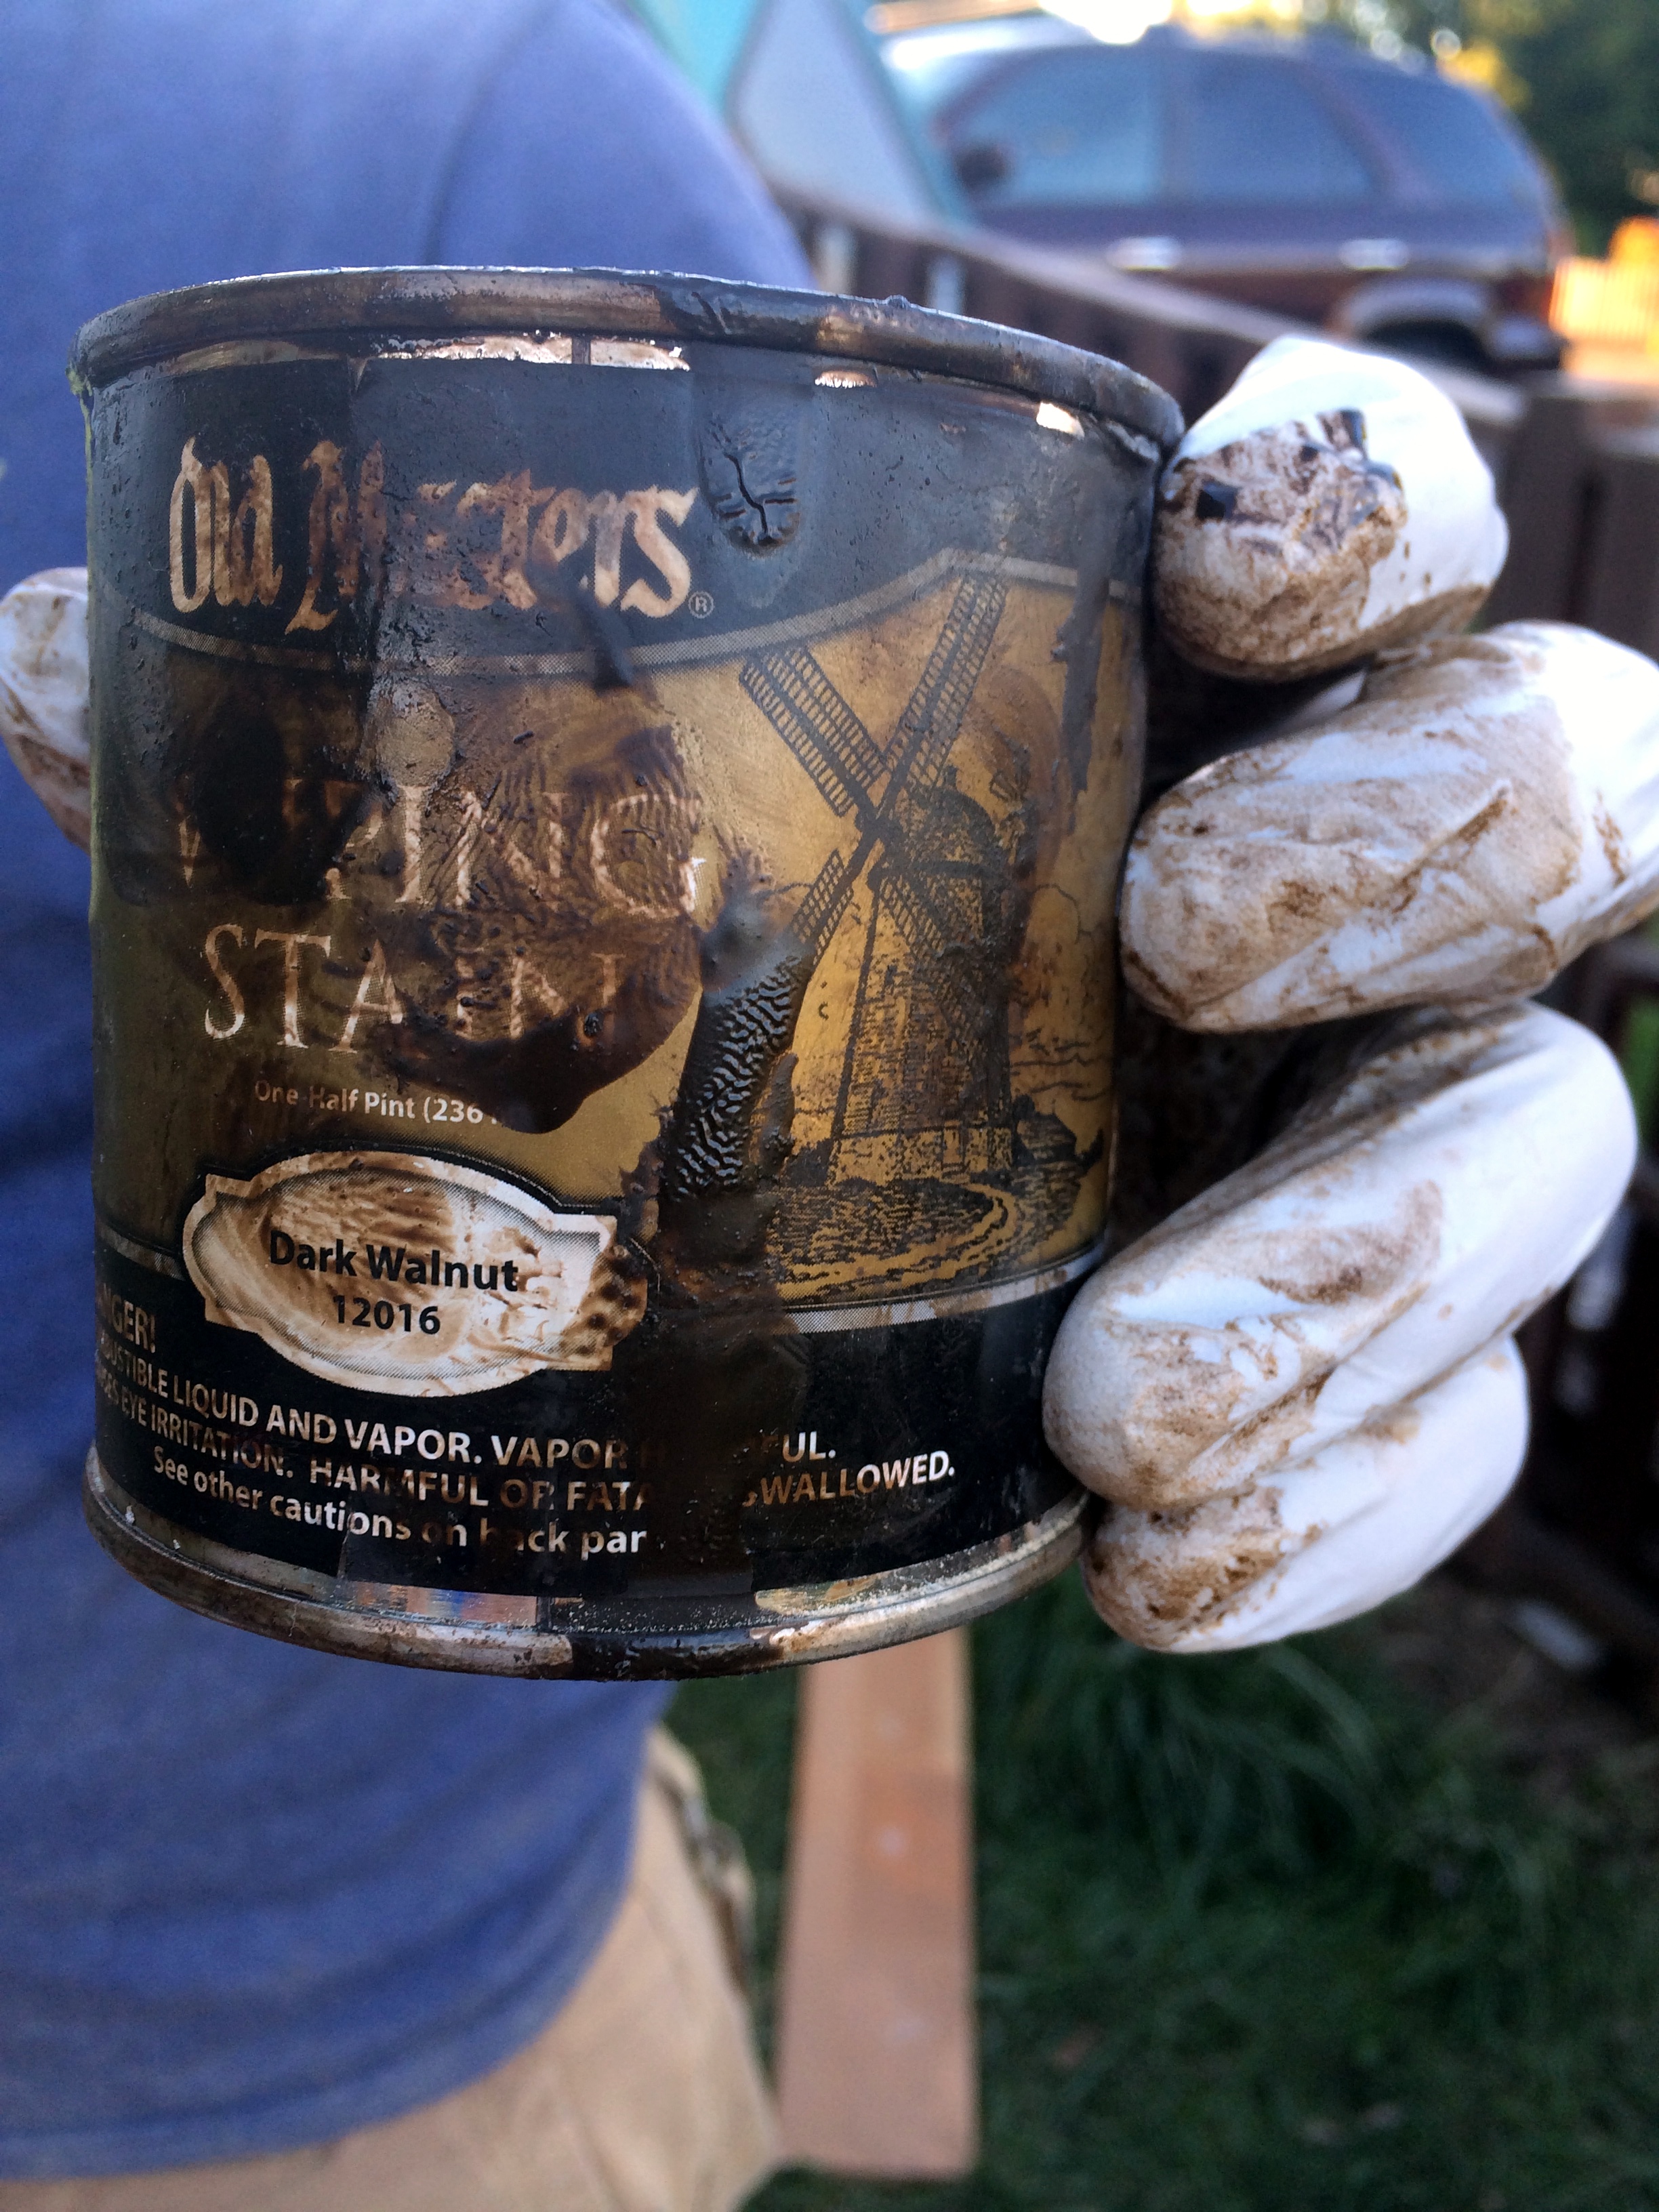
Old Masters Wiping stain, Dark Walnut
Mike had this stain that he’s used for a couple other projects called “Dark Walnut” Old Masters Wiping stain, he really likes this brand and type of stain, stating that he felt it was idiot proof (thanks for the vote of confidence honey 🙂 ).
For the table top we also distressed it a bit, using a hammer, some pliers and a coil wire thing to give it some interest and gave it a light sand to smooth any bumps out. We then stained the table top but ran out of stain so were only able to cover lightly the top and not really get into the distressed marks. I tried to go out and get more (on a Saturday at 5pm) but Fred Meyers didn’t have any and neither did our local Ace Hardware, we knew Miller paint would have it but they had just closed so we had to wait until Sunday to go pick up more. In the mean time I continued sanding the chairs and we started to spray them with black spray paint, I had several cans of partially used black paint around and we ended up buying 7 additional cans!! We wanted to make sure everything was really covered.

Stain drying
On Sunday we picked up the stain and I put on the stain this time, I do have to say it was really easy and I just used a really thick paper towel (don’t forget to wear gloves!) and wiped it on, really rubbing into the distressed areas. If you were going to do this I would make sure to have enough stain in the beginning, so you could do it all in one coat, since my husband is a carpenter I felt confident it would be OK with one light coat and then going over it again but if you were to do half the table and then another half the next day you might get a line.
Once we let the stain completely dry we put 4 coats of water based polyurethane on the table, I really wanted it thick with how much I am cleaning off the table. I followed the instructions and lightly sanded before applying the polyurethane on and letting it dry over night. I did the second sand and coat and then Mike did the third and forth coat. On the fourth and final coat Mike did not do the light sand, “why?” you might ask…. I have no idea! I think he just forgot ![]() and it did not turn out well.
and it did not turn out well.

Flaking polyurethane
We had a decent amount of condensation that morning so when he went to check it out in the morning the polyurethane had not adhered to the table! It ended up flaking off! Luckily the other three coats had been properly applied so they were fine we just had to clean the flaking layer off, do the light sand and then apply the last coat (which we did in the garage so we didn’t have to worry about the condensation or rain). We let it sit for 3 days to cure and then reassembled the table, it looks great! Since this project took a good part of a week to complete I took advantage of my empty kitchen and found some paint in the garage that Mike bought in the discount section at Sherwin Williams for a dollar and painted the kitchen! Which then lead me to finding some black paint and painting the lower cabinets in our kitchen black, I kept on looking at black and white kitchens on Pinterest and of course when I get on a roll there’s no stopping me! I’m still not completely done, I need to paint the handles and would like to get some white paint to repaint the upper cabinets to freshen them up. I painted our kitchen an apple green when we first moved in almost 10 years ago (omg! can’t believe we’ve been in this rental that long) so definitely was time to update a bit.

Mike in the kitchen after paint
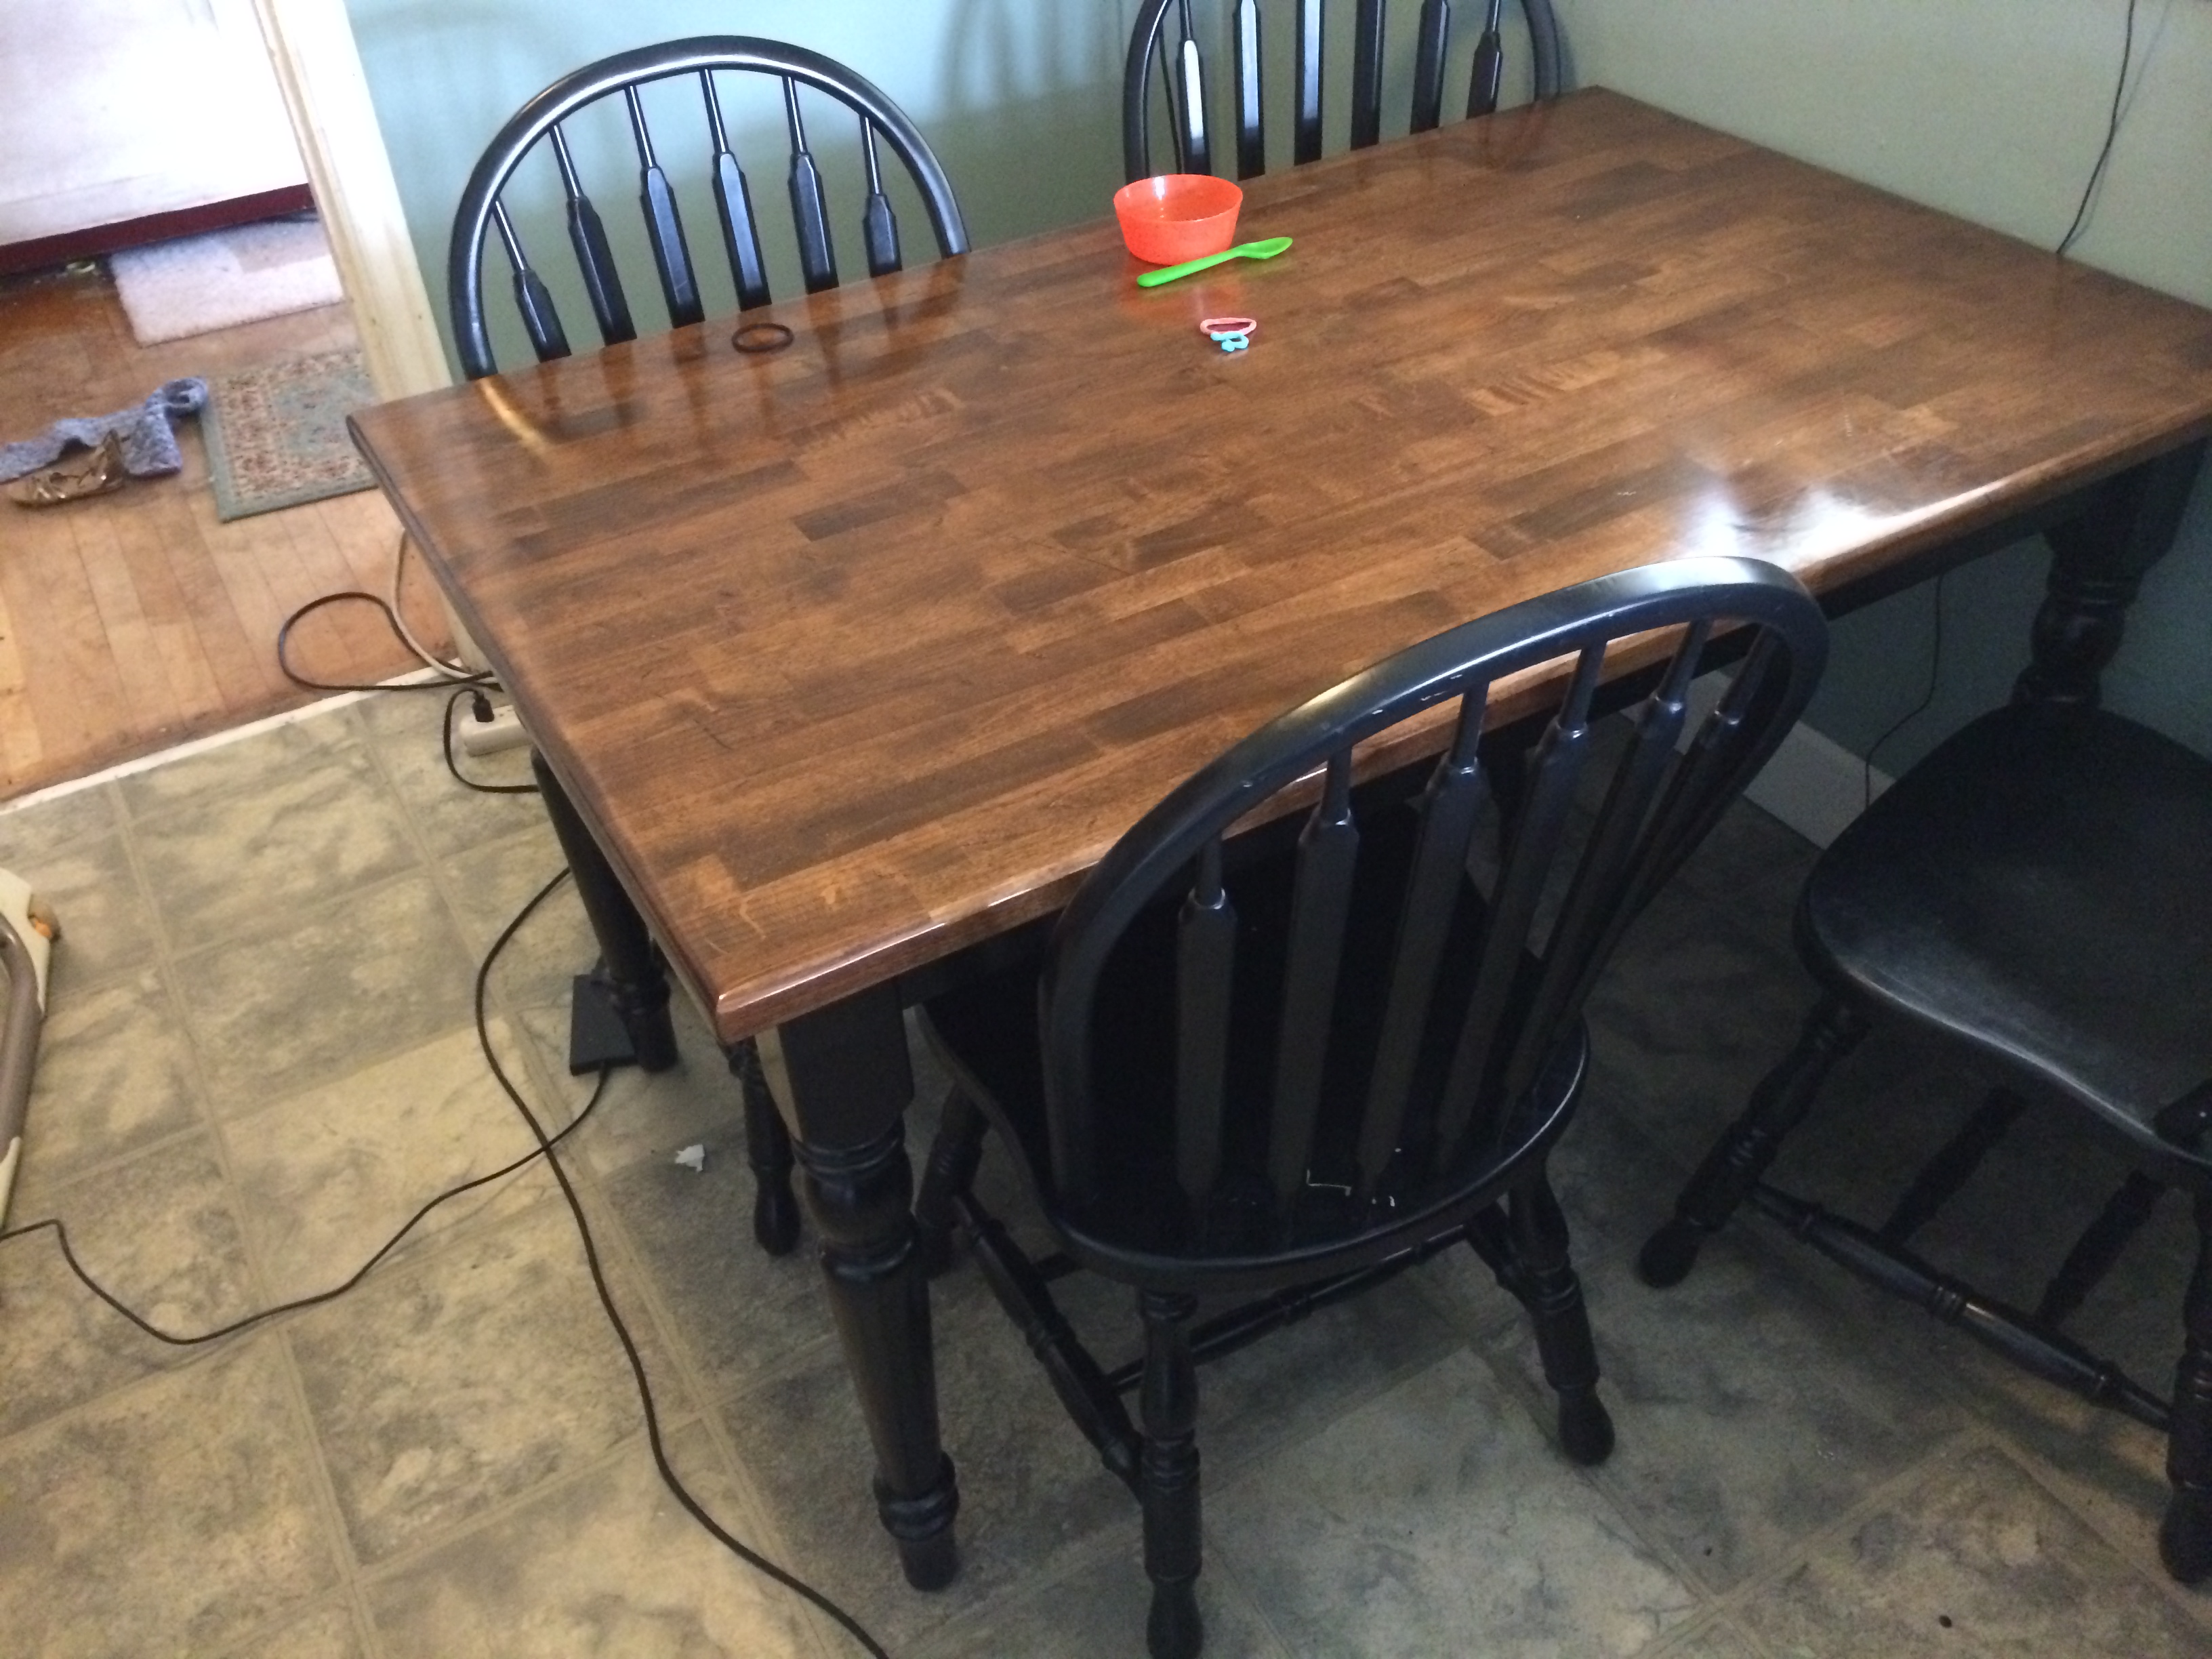
Completed table and new paint on the walls!
Hopefully I’ve inspired someone to start that project that’s been hanging around and run with it!
s
